
A couple years ago my district adopted the Lucy Calkins Writing Units of Study. We didn’t have a cohesive writing program and we were just pulling resources from TPT or somewhere else. So finally having a consistent program from K-8 was huge!
For anyone that’s familiar with Calkins, you understand then when I say that even though it’s an amazing program and the kids will become strong writers, the prep work is A LOT! There is a ton of reading to do for each lesson, making sure you have the model text, having your own writer’s notebook, and getting all the anchor charts prepped. Ahhh….the anchor charts….there’s so many!
I like to think that there’s two main types of anchor charts:
- Anchor charts that you fully create before the lesson begins and you reference it throughout your teaching
- Anchor charts that partially create before your lesson and you fill in the rest with student input.

Both kinds of anchor charts can have a huge impact on your teaching and the students’ retention of the lesson being taught. Typically after you teach, the anchor chart becomes a fixture on the wall that you continue to reference throughout the rest of the unit.
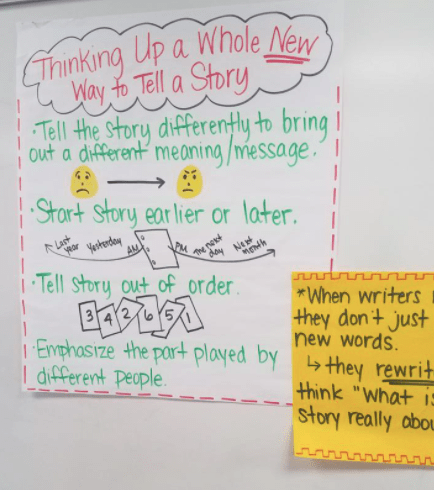
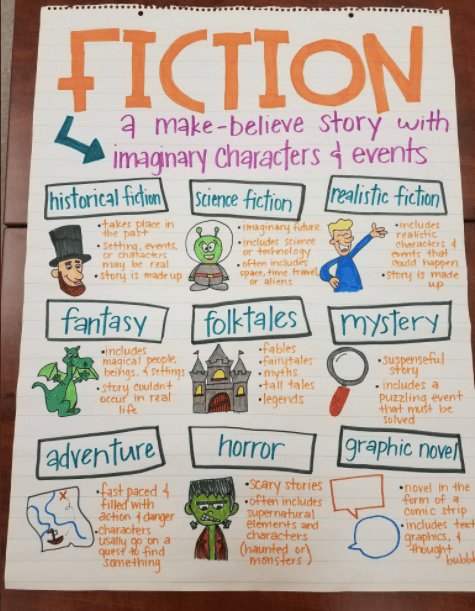
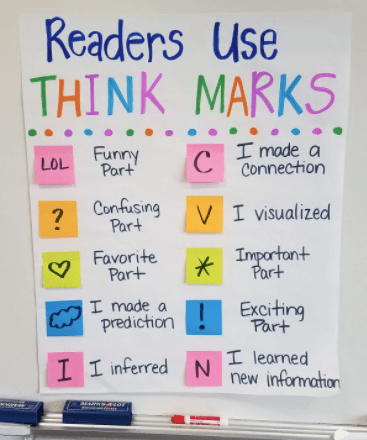
I have always loved making anchor charts. Getting to design a chart that was created specifically for my students to help them understand something was so fun! Over my years as a teacher, reading specialist, and now as a coach, I’ve made a lot of different anchor charts. If I could make a living off of creating anchor charts, I would! I mean, you could ask any teacher I work with; I won’t say no when someone asks me to make an anchor chart for them to use!! It especially doesn’t hurt when they follow up with…”I’ll bring Starbucks!”

I like to think I’ve mastered the art of making all sorts of different anchor charts and have 5 tips to share with you all to help make the process a little easier.
- Decide what is the main objective of your lesson is going to be and what do you want your students to walk away with. Is the purpose just to create an introduction for an upcoming unit? Maybe the purpose is to teach them step-by-step direction on how to do something. Whatever is, that’s what the focus of your chart becomes!
- Turn to Google or Pinterest for inspiration. Chances are if you are needing to make an anchor chart, then someone else already has too. Use those images to inspire you in creating your own!
- Ok, this is my biggest secret…use the projector to help you trace the hard parts. Once I have the chart in my mind, I design the headings on my computer and then project the image on the board. Then, I put the paper on the board and trace the headings with a pencil so they turn out how I want!
- Invest in a good set of markers. I use regular Crayola markers, both thick and thin. I was fortunate enough to win a grant from our PTO so I got the HUGE variety pack of markers from Amazon! I also have the multicultural markers from Crayola, too. It’s important to me that when I draw people on my charts, to include all different skin colors.
- Use post-its. I use post-its for everything. When I make anchor charts that I’m going to finish during the lesson, then I bring post-its. I like to pre-plan how I think the students will respond (or how I want them to respond) to my prompts and have the answers ready to go on post-its. That way I can just stick the post-it up on the chart without wasting time writing their responses word for word during the lesson.
There you go! Five tips that I use almost every time to help create the perfect anchor charts! Have fun!!

One thought on “5 Tips for Creating Anchor Charts”